This series is intended for engineers new to Kubernetes and GKE. It provides a basic overview of Kubernetes, architecture basics and definitions and a quick start for building a Kubernetes cluster and building your first multi-tier webapp.
This blog will show you how to get up and running with your first Kubernetes cluster with GKE.
Go to the Google cloud platform at console.cloud.google.com. If you need to go through the process of signing up for an account, it’s pretty straightforward. Google will give you free credits to start.
Click the hamburger at the top left, scroll down to Kubernetes Engine and click clusters.
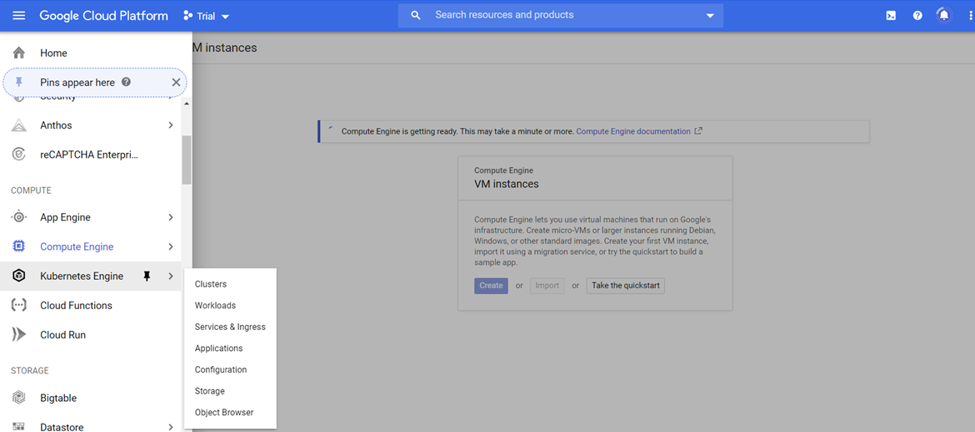
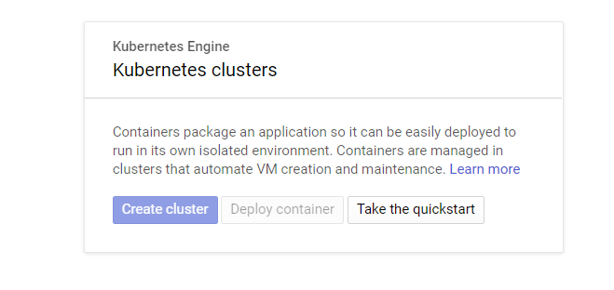
You’ll see there are no clusters created so you’ll click create cluster.
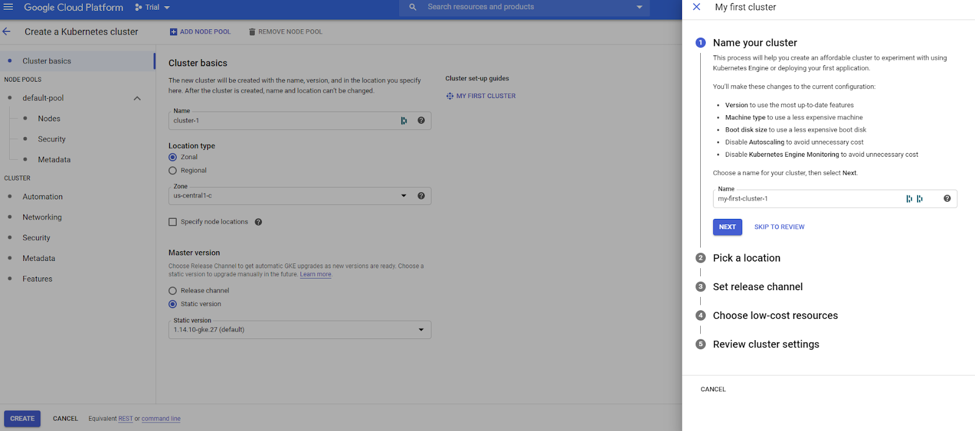
The defaults are mostly okay for the purposes of your first cluster. Because you are likely working with the free credits Google has given you, you’ll want to minimize your cost by using the my first cluster option.
On the right side, click My First Cluster.
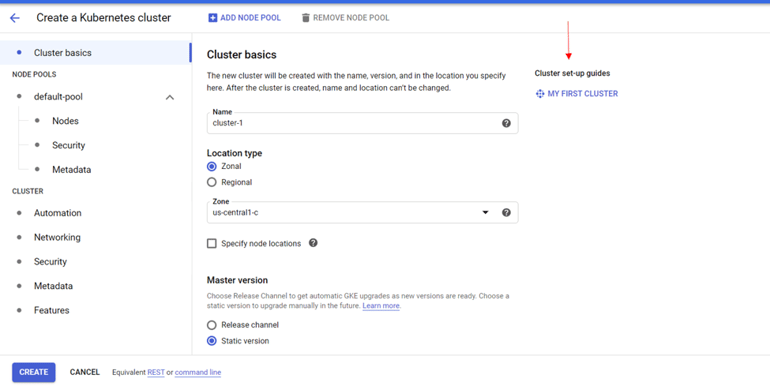
For the purposes of your first cluster, just use default settings. As you get more advanced with Kubernetes, the options offered will become more meaningful such as selecting the number and size of nodes. You can skip to review and click create on the bottom left.
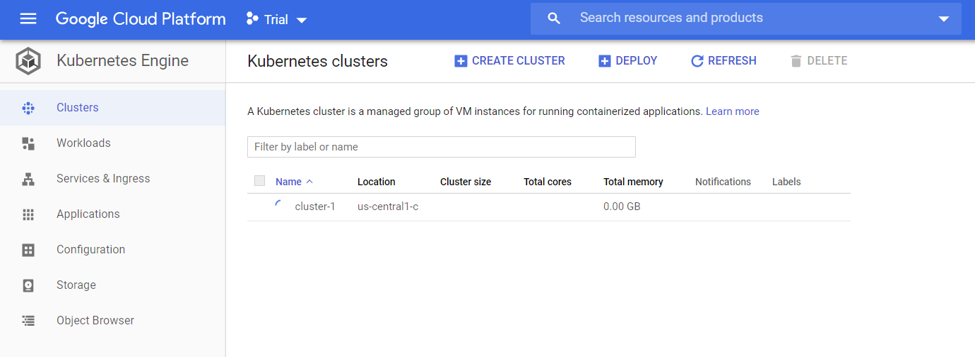
You’ll see a spinning wheel as your cluster is being created - it takes about 3-5 minutes for your cluster to come up.
If you’ve ever created a Kubernetes cluster from scratch, you’ll know exactly how much goes into it. Google is handling all of this behind the scenes when you create your first cluster.
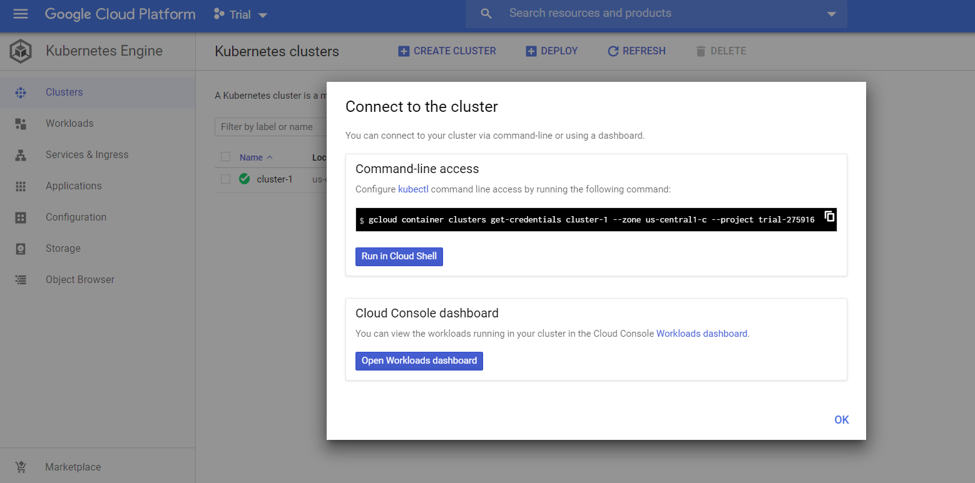
Once your cluster is ready, you’ll see a green check mark next to the name of your cluster. If you use the default settings from your previous screen, Google will name your cluster. In this case it is cluster-1.
Once up and running, there's two ways to verify that you can connect to your cluster. The easiest way is to use the Google Cloud console.
Click on the connect button over to the right. You'll see a place where you can copy a gcloud command. This assumes you have the gcloud command-line and kubectl utility installed. If you don’t have these installed or want to get started faster, click the button run in cloud shell.
This brings up a cloud console in your browser. You can see that it auto populates with the command you’ll need to pull down the authentication for our Kubernetes cluster. 
To run this command, just hit enter.
You can run a few quick kubectl commands to verify that you can connect to your cluster.
The first one you can run iskubectl config current-context.This should echo back the current context we have for connecting to a Kubernetes cluster.
danielle@cloudshell:~ (trial-275916)$ kubectl config current-context
gke_trial-275916_us-central1-c_cluster-1
In the real world, you might have any number of clusters that you're connecting to at the same time. You can use the kubectl config command to switch context between clusters. Be careful if you are using this to switch between production and development clusters. You could have your current context pointing at a production cluster and you mean to run things in your development cluster. Use the command liberally.
You can see that you are now connected to the Kubernetes cluster you just created. You can verify that the Kubernetes cluster has space to work on by running kubectl get nodes.
danielle@cloudshell:~ (trial-275916)$ kubectl get nodes
NAME                                       STATUS   ROLES    AGE   VERSION
gke-cluster-1-default-pool-45c619a9-13l8   Ready       51m   v1.14.10-gke.27
gke-cluster-1-default-pool-45c619a9-hrfr   Ready       51m   v1.14.10-gke.27
gke-cluster-1-default-pool-45c619a9-x7q9   Ready       51m   v1.14.10-gke.27
You can see that you have a three node Kubernetes cluster in GKE.


